- Fully Charge Battery before 1st Use (this is a good time to read the user manual and understand the manufacturer's instructions beyond this guidance) .
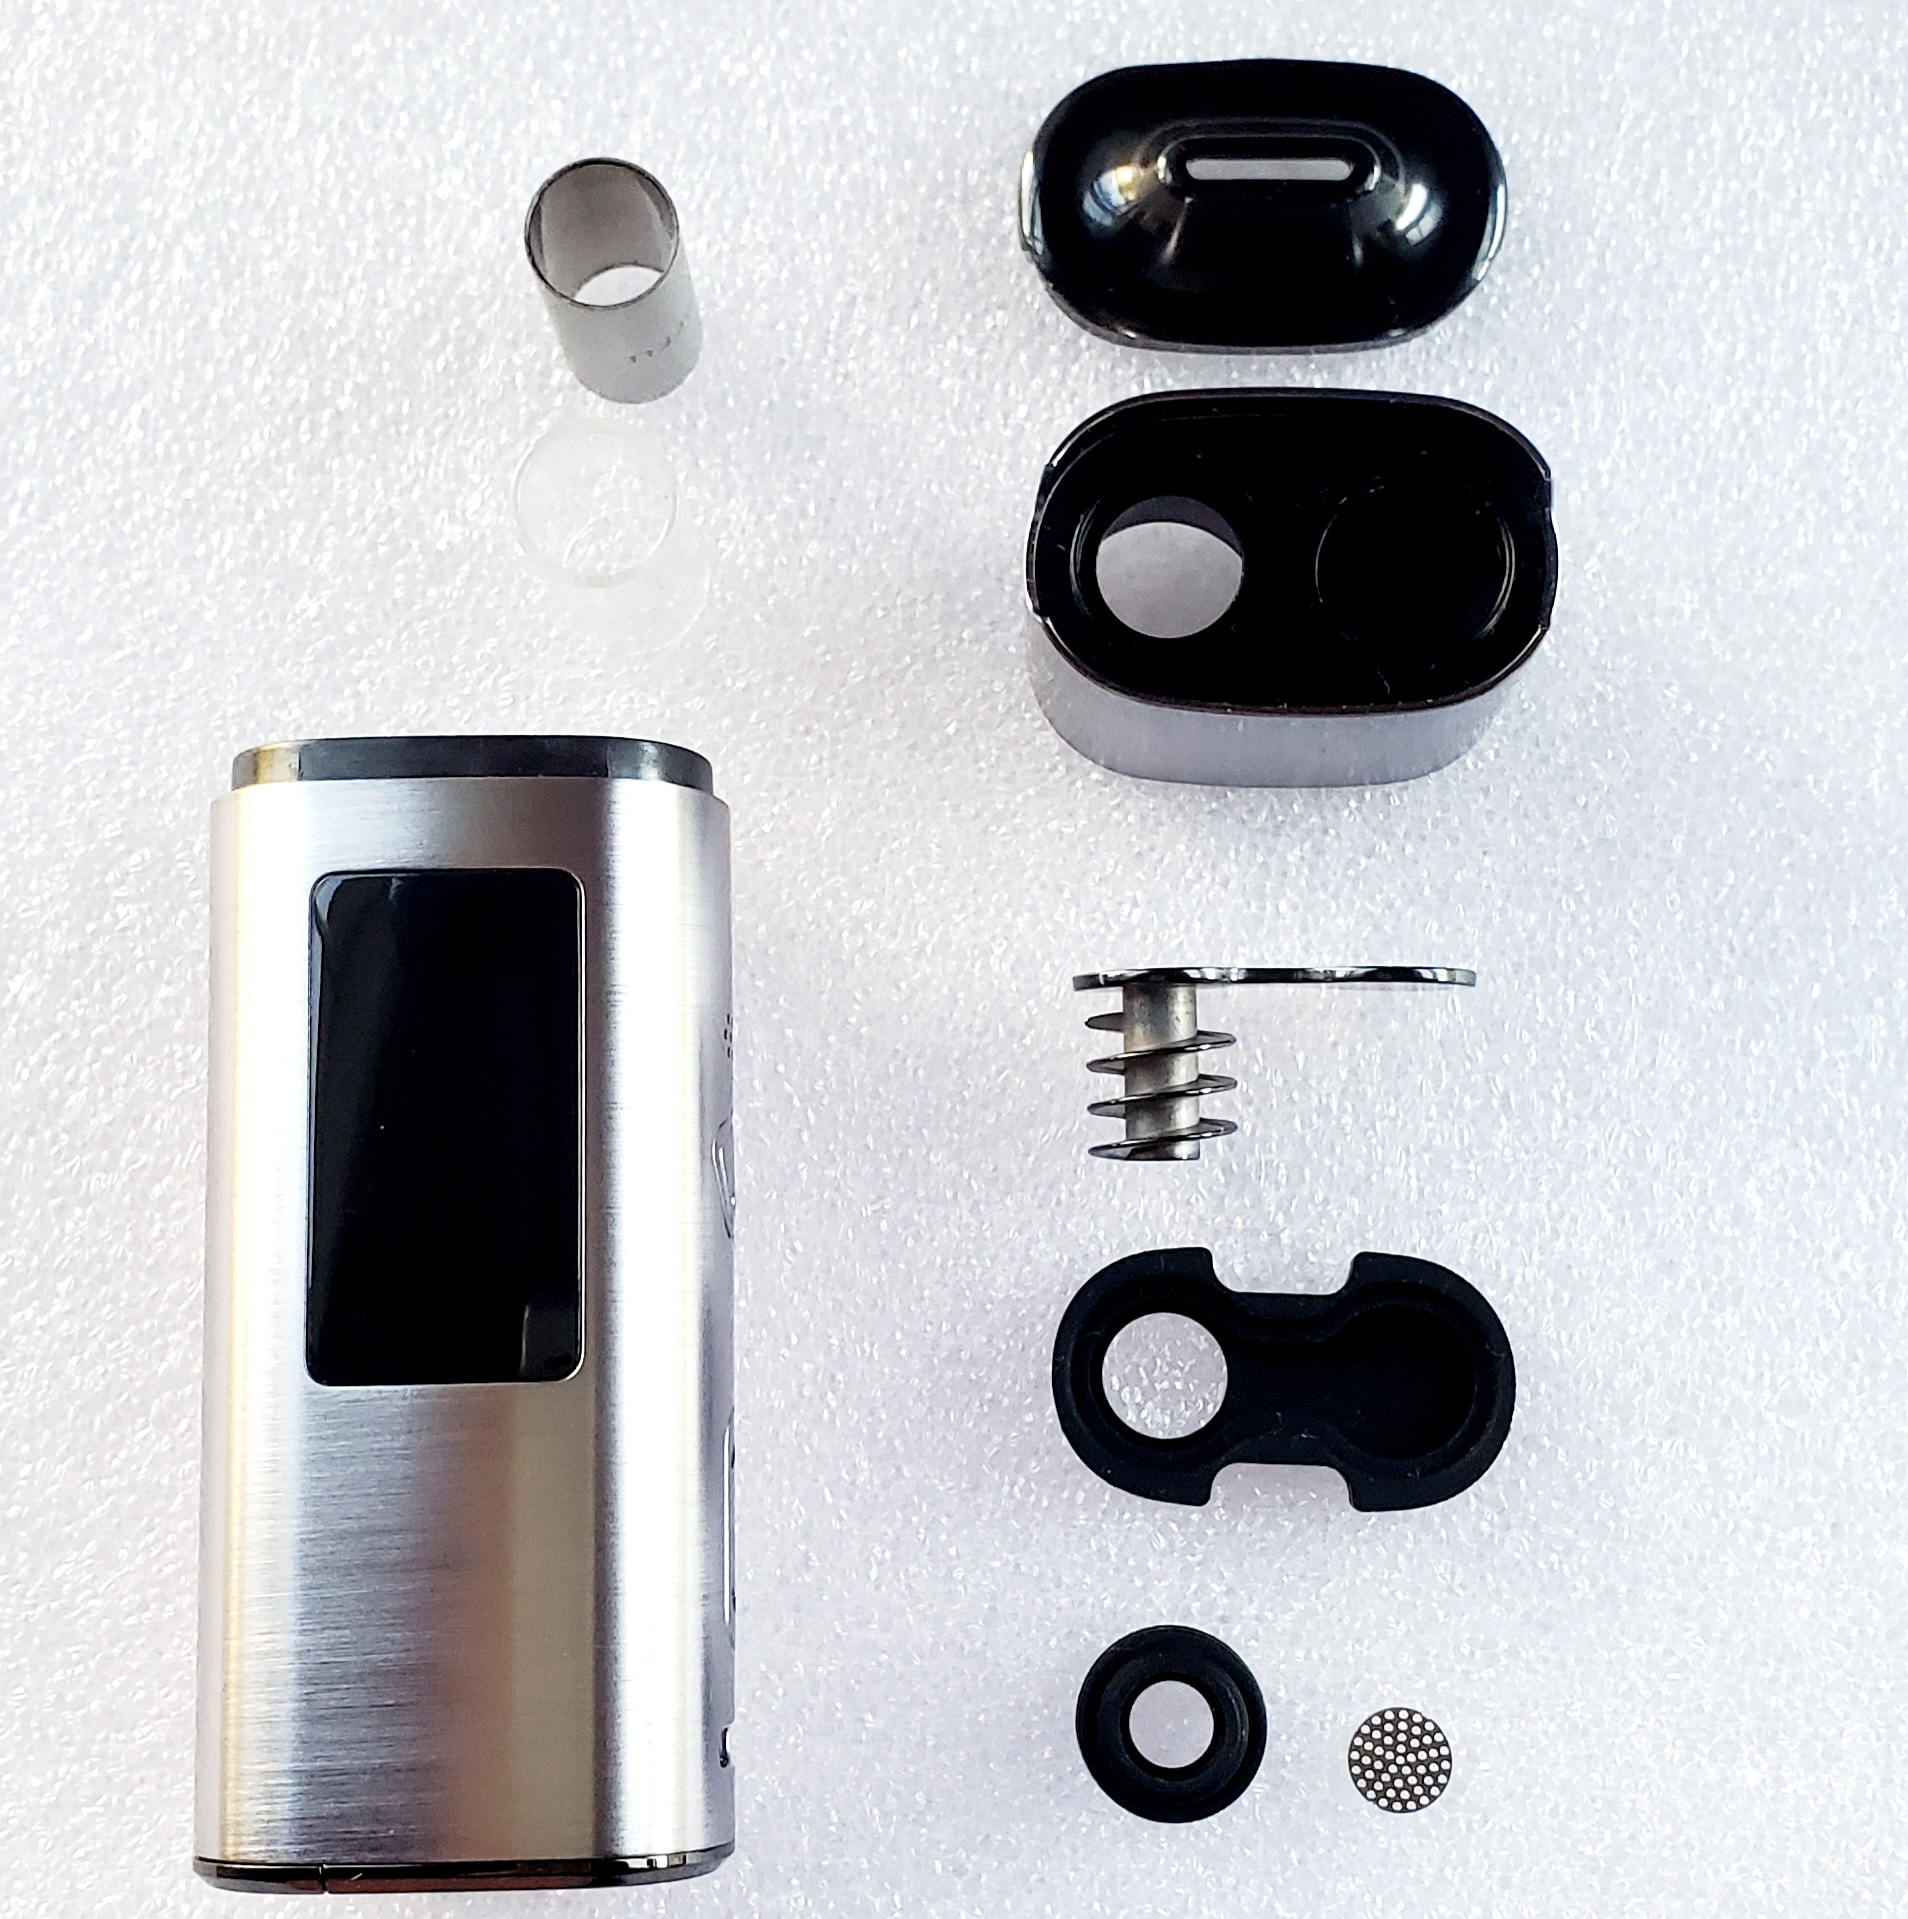
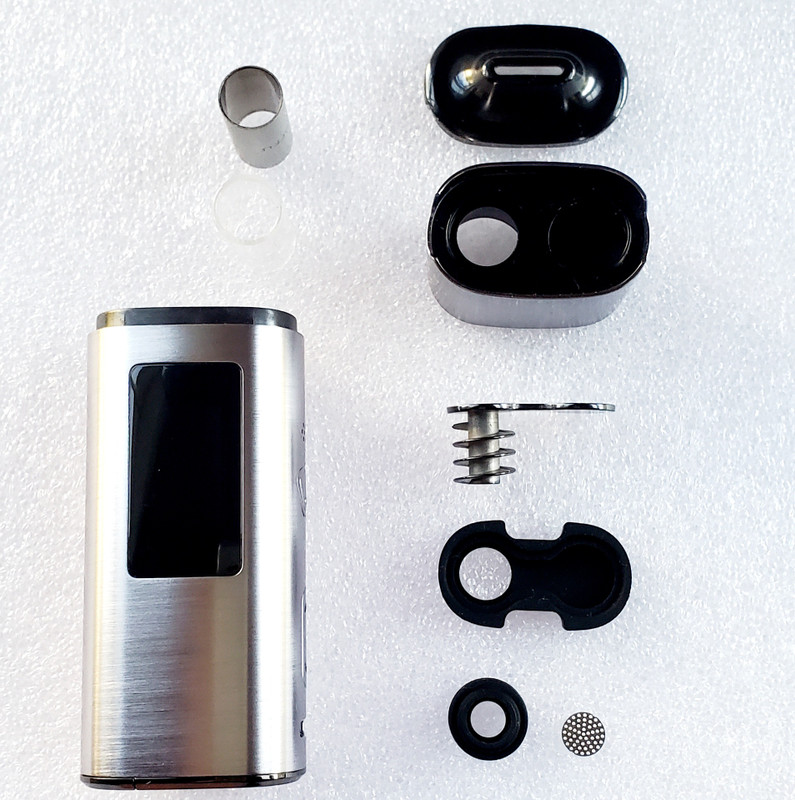
- While Battery is Charging, Break Down the mouthpiece, Remove Chamber and use Culinary Solvent or Isopropyl Alcohol (CS/IA) to wipe down all components. Wear safety glasses and protective gloves while working with CS/IA. Avoid using CS/IA on the magnets that are on the underside of the Mouthpiece Tip (Top Piece on Right hand side in photo). Pay attention of the part placement while disassembling for smooth reassembly post clean-up. Cotton swabs soaked with solvent should also only be used on the heater screen with the device inverted to prevent any liquid from dripping into the heating element below. Do not soak silicone parts in CS/IA, they can be wiped with it but not soaked/submerged for best lifespan on the part. Warm soapy water can also be used on the silicone parts and then rinsed with fresh water.
- Reassemble, then install mouthpiece assembly and deploy fully charged battery cell in the device. Do several burn-offs using Session Mode set to 6 Minutes at Max Temp, allow the device to go back to cool ambient room temperature before repeating the process. You can leave the Mouthpiece Tip and Spiral Airflow Box (3rd piece down on right) & Silicone Housing (4th piece down on right) off the device for the burn-offs. Press and hold the middle of the Up and Down Button to toggle between Session Mode and On-Demand Mode. Adjust Session Timer from 3 Minutes to 6 Minutes by Holding the Rounded Square Roffu Button above the Up & Down Button by pressing the Roffu Button and Up Button simultaneously to toggle. Use the Down Button and Roffu Button to toggle between ˚F and ˚C for how the temperature displays. Power On by Pressing Roffu Button 5 Times rapidly, power down with the same sequence.
- Get the device into some fresh outdoor air that is freely circulating to rid the device of any remnant packaging odor, this is particularly necessary on the OG Kit packages due to the foam padding in the box. Don't place it into direct sunlight or anywhere moisture is of concern (don't put it outside on a rainy and windy day).
- For native chamber loading, choose the chamber, install it and then seat the sliding screen to the top of the stationary heater screen. Load flowers, be sure to not pack too tight as airflow is essential for optimal convection device operation. Replace mouthpiece. Consider lower temperatures for best flavor. Choose from On-Demand or Session Mode. Once the session is complete, clean-up is easiest while the chamber is warm. Beware of hot chamber immediately post session when you remove the mouthpiece top. Cool flowers will stick to chamber walls and screens which will entail more cleaning in the short term.

1st Time Use
Pro Tips
- Dosing Capsules: When loading XMax V3 Pro Dosing Capsules, you can remove the sliding screen from the chamber you choose for best Mouthpiece fit (set it aside someplace safe for future native use, with V2 Caps this step is no longer necessary with this slightly shorter cap). Keep dosing capsules clean for best performance. Using the capsules makes drop in/out very simple with less maintenance needed for the filter screen that sits at the base of the mouthpiece assembly. Filter screen at the base of the mouthpiece can be removed when using the Dosing Capsules, we suggest keeping the silicon gasket installed to keep a proper seal between the body and mouthpiece. See the next tip to keep Dosing Capsules moving in and out of the chamber smoothly. New Dosing Capsule lids (V1, flat lid, this issue is resolved with the V2 indented lids)) may stick in the chamber portion, should this occur, consider heating a capsule lid side down for a Burn-Off Session (mentioned above in 1st Time Use). Once you can dislodge the lid, switch the lid to another capsule for a better fit. If you opt for the 5 Pack with Travel Tube: There is a barcode sticker on the Travel Tube which can be easily removed with a few drops of cooking oil to break up the adhesive and sticker paper. IA/CS can also be used initially to remove whatever you can't peel off by hand. The cooking oil will do the trick for the last bits especially. April 2024 Update: XVape has released a new Metal Chamber that is not compatible with any version of the Dosing Capsules using the stock mouthpiece.
- Keep the mouthpiece clean, the cleaner you keep it, the better the flavor and performance.
- Consider an external charger and supply of extra batteries. History has shown with various tech that charging ports can be a failure point on any device which is why we recommend using the on-board charger for emergency purposes rather than by default. The Hohm Tech line is what we recommend. Hohm Tech's safety guide is a solid resource and listed under the product description of each battery cell we carry from Hohm Tech. Not all 18650s are created equal, so only use a battery rated for use in this type of device, all of the Hohm Tech cells we carry in the 18650 size exceed the specification for the XLux Roffu.
- Reduce your load size using our BackSpacers for microdosing solutions. We like to use a 2mm in the base to protect the bottom most level of flowers and then use the 3mm or 5mm on top depending on the size of the microdose.
- Body Armor Sleeve is available to protect the device from drops and mishaps as well as insulating the cooling unit for high temp enthusiasts.
- For those who picked up the OG Roffu Kit that want to use the small grinder. Carefully remove the screen from the middle grind plate. There is a retaining ring holding it in place which you need to remove firstly to get the screen out. This 3 piece configuration will work better than leaving the screen in place.
- Pulse the power button in On-Demand Mode. Find what works for you and ride the flavor beyond the release of the button to pull the remaining heat through the load. Don't rely on haptic feedback for On-Demand mode, this feature is designed for Session Mode. Start inhaling slowly while holding the button, release once you feel the aroma coming through and continue the slow inhale to cool the load. Repeat this process for best On-Demand mode results. To Pulse, try holding the button for 3-5 seconds, then release for 1-2 seconds, then repeat the 3-5 second hold & release 1-2 seconds, repeat until you taste/feel the vapor coming through.
- If the Display scrambles, allow the device to go to StandBy, then hit a button and the screen will Refresh to normal operation. Powering the device off/on corrects this as well.
- When connecting the Mouthpiece Top (MPT) magnetically, do not allow the MPT to snap down onto the main body of the device. Gently connect the Mouthpiece Top to the main body.
Stay tuned for more to be added here.
Stay safe & healthy!


